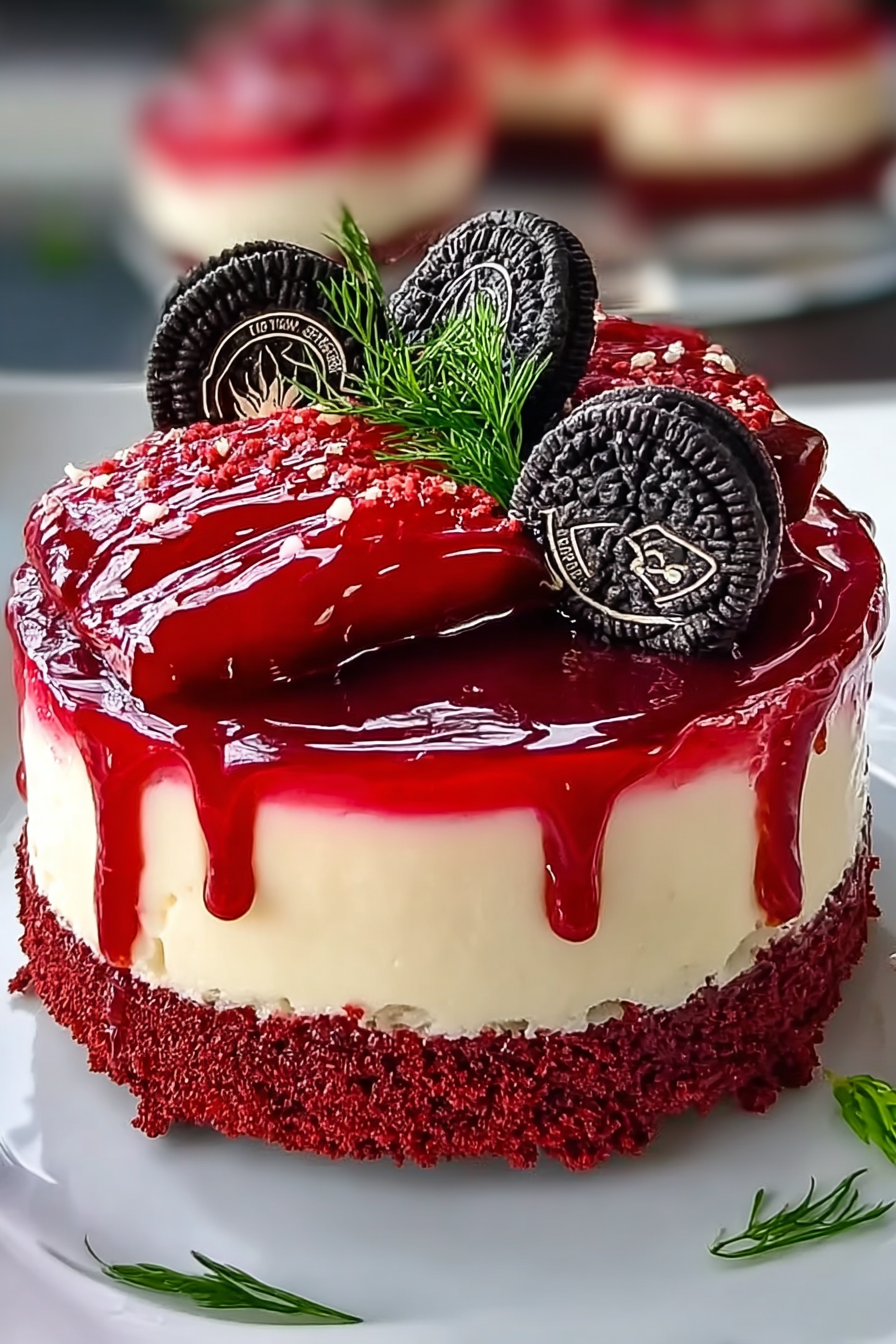
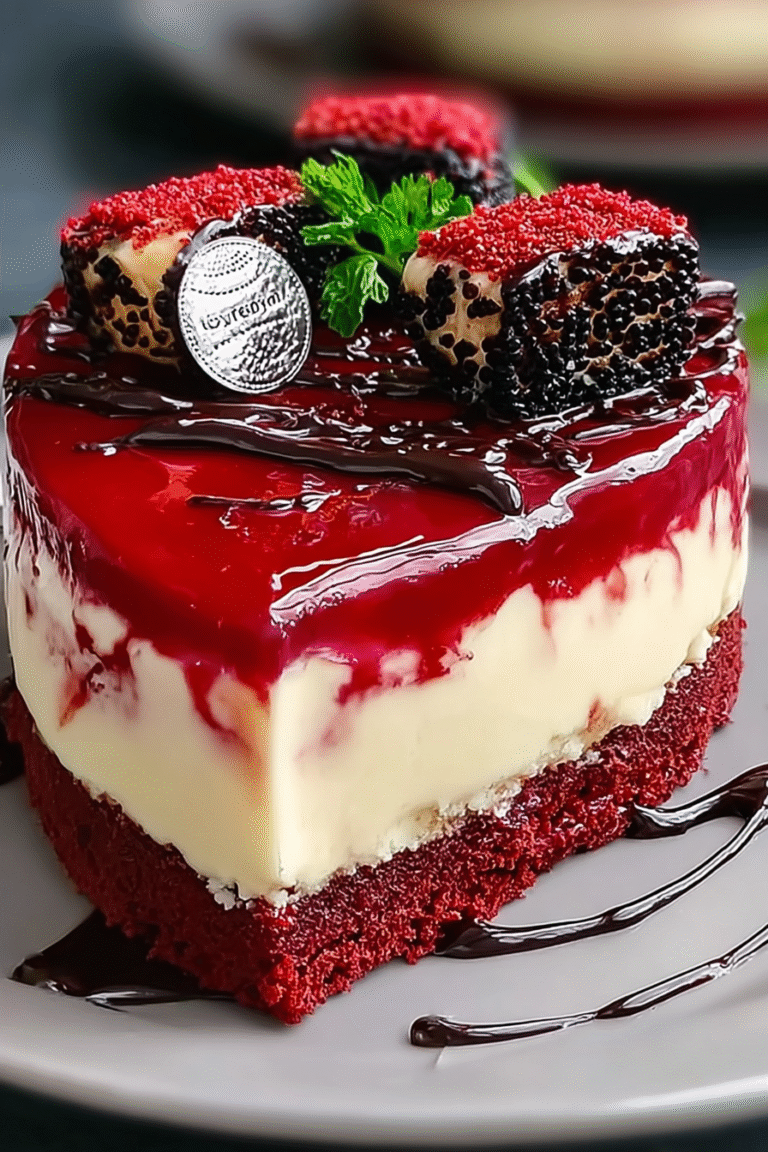
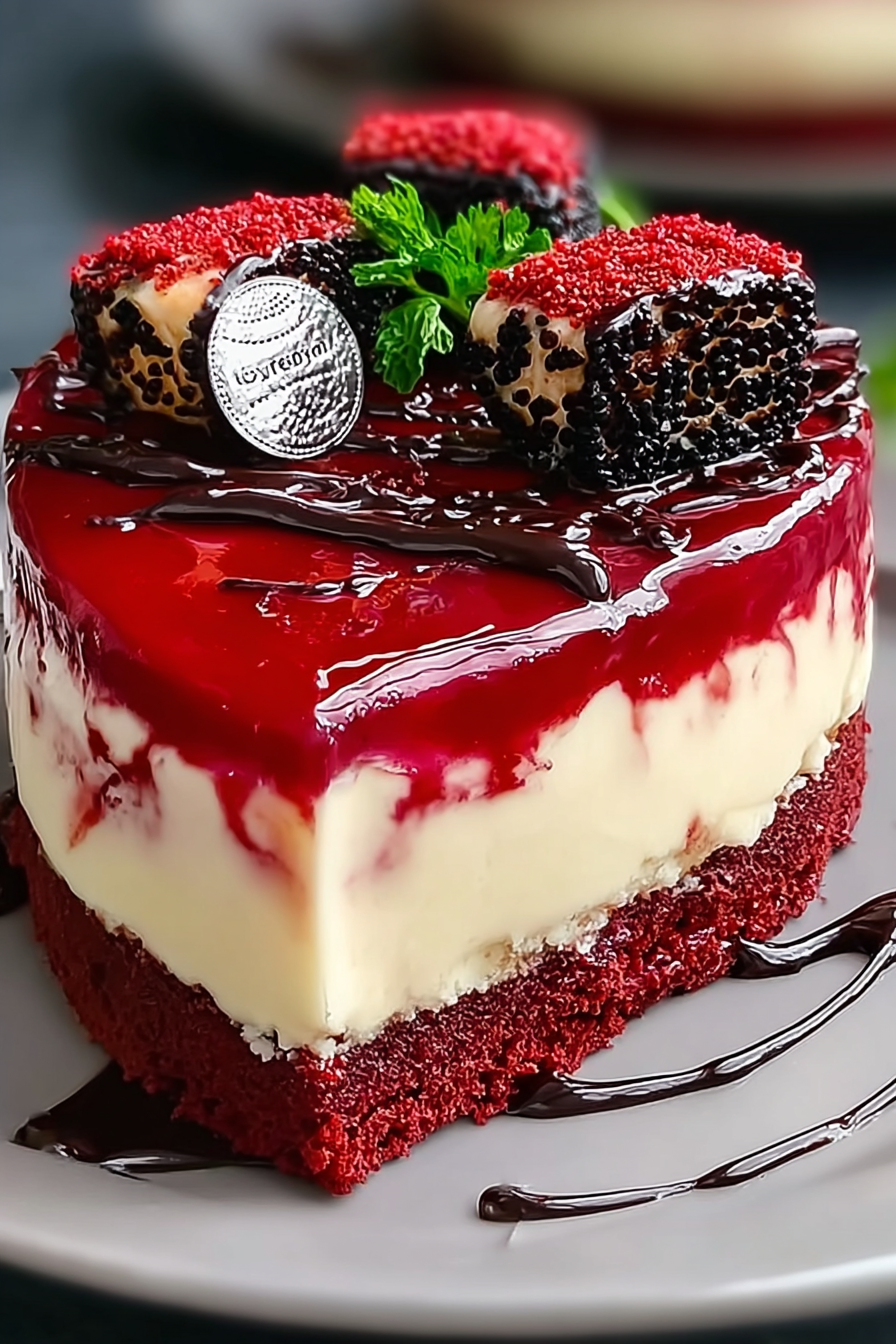
Imagine biting into a slice of **Red Velvet Cheesecake** that’s so decadent, it makes your taste buds do the tango. This is not just dessert; it’s a velvety smooth dream woven into a crimson fantasy, ready to steal the show at any table.
This recipe will guide you through creating a dessert masterpiece that combines the tangy allure of cheesecake with the rich, cocoa-kissed charm of red velvet. Get ready to impress even the most discerning dessert aficionados.
Why you’ll absolutely adore this Red Velvet Cheesecake:
- It effortlessly blends the moist, chocolaty notes of red velvet cake with the creamy, tangy richness of classic cheesecake, creating a harmonious flavor explosion.
- The striking red hue against the creamy white cheesecake layer makes it a visually stunning centerpiece for any occasion, guaranteed to wow your guests.
- Despite its impressive appearance, this cheesecake is surprisingly easy to make, even for novice bakers, with straightforward steps and readily available ingredients.
- From elegant dinner parties to cozy family gatherings, this Red Velvet Cheesecake is versatile enough to be the star of any dessert spread, bringing joy and delight to every bite.
Ingredients for Red Velvet Cheesecake
Here’s what you’ll need to make this delicious dish:
The full ingredients list, including measurements, is provided in the recipe card directly below.
How to Make Red Velvet Cheesecake
Follow these simple steps to prepare this delicious dish:
Step 1: Prepare the Red Velvet Cake Layers
Preheat oven to 350°F (175°C). Grease and flour two 9-inch round cake pans. In a large bowl, whisk together flour, sugar, cocoa powder, baking soda, and salt. In a separate bowl, combine oil, buttermilk, eggs, vanilla extract, and red food coloring. Gradually add the wet ingredients to the dry ingredients, mixing until just combined. Divide batter evenly between the prepared pans and bake for 25-30 minutes, or until a toothpick inserted into the center comes out clean. Let cool completely in the pans before frosting.
Step 2: Make the Graham Cracker Crust
In a medium bowl, combine graham cracker crumbs and melted butter. Press the mixture firmly into the bottom of a 9-inch springform pan. Bake in the preheated oven for 8-10 minutes. Let cool completely.
Step 3: Prepare the Cheesecake Filling
In a large bowl, beat cream cheese and sugar until smooth and creamy. Add sour cream, powdered sugar, and lemon juice, and mix until well combined. Be careful not to overmix to avoid cracks in the cheesecake.
Step 4: Assemble the Cheesecake
Level the red velvet cake layers using a serrated knife. Place one cake layer on top of the cooled graham cracker crust. Pour half of the cheesecake filling over the cake layer. Top with the second cake layer and the remaining cheesecake filling. Smooth the top of the cheesecake.
Step 5: Bake the Cheesecake
Bake in the preheated oven for 55-65 minutes, or until the edges are set but the center still has a slight jiggle. Turn off the oven and let the cheesecake cool inside for 1 hour with the door slightly ajar. This helps prevent cracking.
Step 6: Chill and Serve
Cover the cheesecake and refrigerate for at least 4 hours, or preferably overnight, to allow it to set completely. Before serving, run a thin knife around the edge of the springform pan to loosen the cheesecake. Remove the sides of the pan and slice into wedges. Garnish with whipped cream, chocolate shavings, or fresh berries for an extra touch of elegance. This is now a stunning Red Velvet Cheesecake.
Perfecting the Cooking Process

To achieve the ultimate culinary triumph, start by prepping all your ingredients. Begin with the cheesecake filling, then move to the crust. This ensures each component is ready when you need it, streamlining the baking process for perfect results every time.
Add Your Touch
Feeling adventurous? Swap the traditional vanilla extract for almond or even a hint of lemon zest to brighten the flavor. For a richer taste, add a swirl of raspberry jam into the cheesecake batter before baking. Personalize it; make it yours!
Storing & Reheating
If you have any leftovers, store them in an airtight container in the refrigerator. They will stay fresh for up to five days. To reheat, let it sit at room temperature for about 15-20 minutes. It will be ready to eat!
Here are a few tips to help you nail this recipe like a seasoned pro:
- Don’t overmix the cheesecake batter; this introduces air and can cause cracks during baking. Gently fold the ingredients until just combined.
- Use a water bath to bake the cheesecake evenly and prevent it from cracking. This steamy environment keeps the cheesecake moist and tender.
- Let the cheesecake cool completely in the oven with the door ajar to avoid a sudden temperature change, which can cause the surface to crack.
(Personal anecdote)
I still remember the first time I made this dessert for my family. My little sister ate three slices! It quickly became a staple for birthdays and special occasions.
Conclusion for Red Velvet Cheesecake:
So there you have it: a stunning Red Velvet Cheesecake recipe that’s sure to impress. This dessert blends classic flavors with plant-based ingredients, making it a delightful treat for everyone. Don’t be intimidated by the steps— each one contributes to the overall success of this show-stopping cheesecake. From the vibrant red color to the creamy filling, every bite is a celebration. Now go forth and bake!
Print
Red Velvet Cheesecake
Delicious red velvet cheesecake recipe with detailed instructions and nutritional information.
- Total Time: 35 minutes
- Yield: 4 servings
Ingredients
- Cream cheese, softened: 32 ounces
- Granulated sugar: 1 1/2 cups
- Eggs: 4 large
- Sour cream: 1 cup
- Vanilla extract: 2 teaspoons
- Red food coloring: 2 tablespoons
- All-purpose flour: 1/4 cup
- Unsweetened cocoa powder: 2 tablespoons
Instructions
- Step 1: Preheat oven to 350°F (175°C). Grease a 9-inch springform pan.
- Step 2: In a large bowl, beat cream cheese and sugar until smooth and creamy.
- Step 3: Beat in eggs one at a time, then stir in sour cream, vanilla extract, and red food coloring.
- Step 4: Combine flour and cocoa powder, then gradually add to the cream cheese mixture, mixing until just combined. Do not overmix.
- Step 5: Pour batter into the prepared pan and bake for 55-70 minutes, or until the center is almost set.
- Step 6: Turn off oven and let cheesecake cool in the oven with the door slightly ajar for 1 hour. Refrigerate for at least 4 hours before serving.
Notes
- To maintain its creamy texture, store leftover cheesecake tightly covered in the refrigerator for up to 5 days.
- For a slightly softer slice, let the cheesecake sit at room temperature for 15-20 minutes before serving.
- Garnish with fresh berries and a dusting of cocoa powder for an elegant presentation that complements the red velvet flavor.
- Be careful not to overmix the batter after adding the flour and cocoa powder, as this can result in a tough cheesecake.
- Prep Time: 15 minutes
- Cook Time: 20 minutes
- Method: Stovetop
- Cuisine: American
FAQs:
What makes this Red Velvet Cheesecake so special?
Oh honey, this isn’t just any cheesecake; it’s a Red Velvet Cheesecake spectacle! We’ve married the tangy richness of classic cheesecake with the velvety smoothness of red velvet cake. The subtle cocoa notes dance with the creamy filling, creating a flavor explosion that will have you questioning every dessert decision you’ve ever made. Plus, it’s gorgeous! That deep red hue against the white cheesecake? Instagram gold, my friend. This recipe ditches the usual suspects (ahem, no gelatin here!) for a plant-based twist that doesn’t compromise on texture or taste. Prepare to be amazed!
Can I make this Red Velvet Cheesecake ahead of time?
Absolutely! In fact, I highly recommend it. Making the Red Velvet Cheesecake a day ahead allows the flavors to meld together beautifully, and the texture to become even more decadent. Just wrap it tightly in plastic wrap after it has cooled completely and store it in the refrigerator. Before serving, let it sit at room temperature for about 15-20 minutes to soften slightly. This will make slicing easier and enhance the overall experience. Plus, it frees up your time on the day you plan to serve it!
What can I use instead of buttermilk in the Red Velvet Cheesecake?
Buttermilk is a key ingredient for that tangy red velvet flavor, but don’t despair if you’re out! You can easily make a substitute by adding one tablespoon of white vinegar or lemon juice to one cup of milk (dairy or non-dairy works!). Let it sit for about five minutes; it will thicken and curdle slightly, mimicking buttermilk perfectly. This clever trick adds the necessary acidity to activate the red color and tenderize the cake crumbs, ensuring a moist and flavorful Red Velvet Cheesecake. It’s like magic, but with science!
How do I prevent cracks in my Red Velvet Cheesecake?
Cracks in your Red Velvet Cheesecake? A baker’s nightmare! The key is even baking and slow cooling. Bake the cheesecake in a water bath to ensure gentle, even heat. Once baked, turn off the oven and crack the door open slightly. Let the cheesecake cool in the oven for an hour before removing it. This gradual cooling process prevents drastic temperature changes that can cause cracking. Patience is a virtue, especially when it comes to cheesecake! Alternatively, you can embrace the cracks and cover them with whipped cream or berries. No one will ever know!

