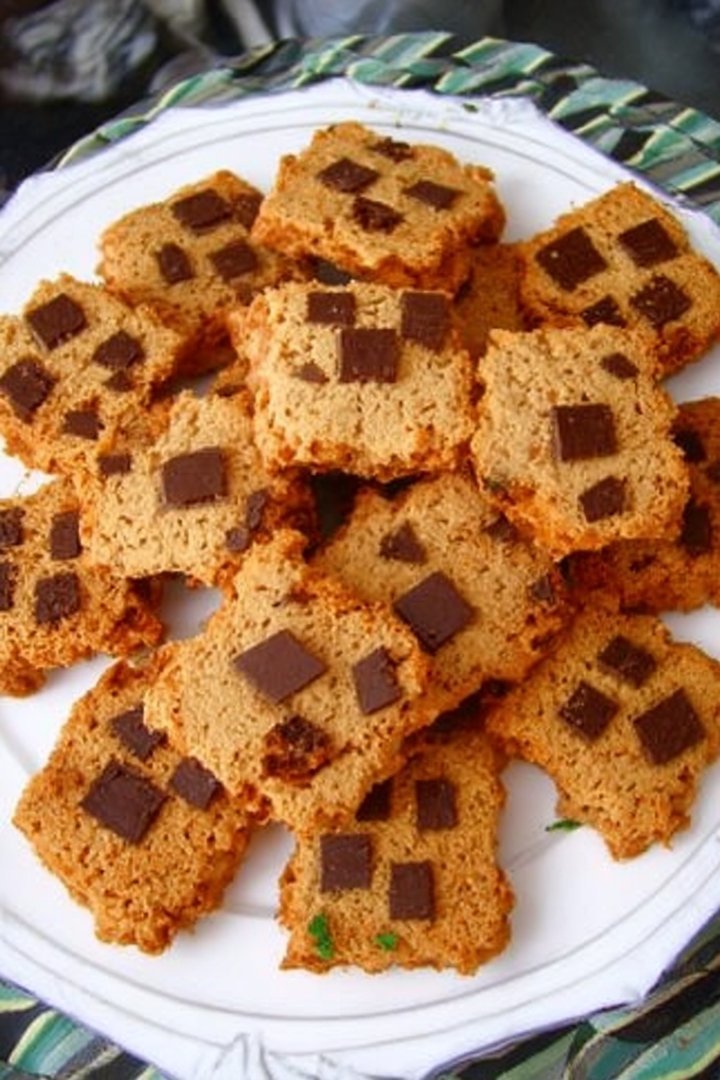
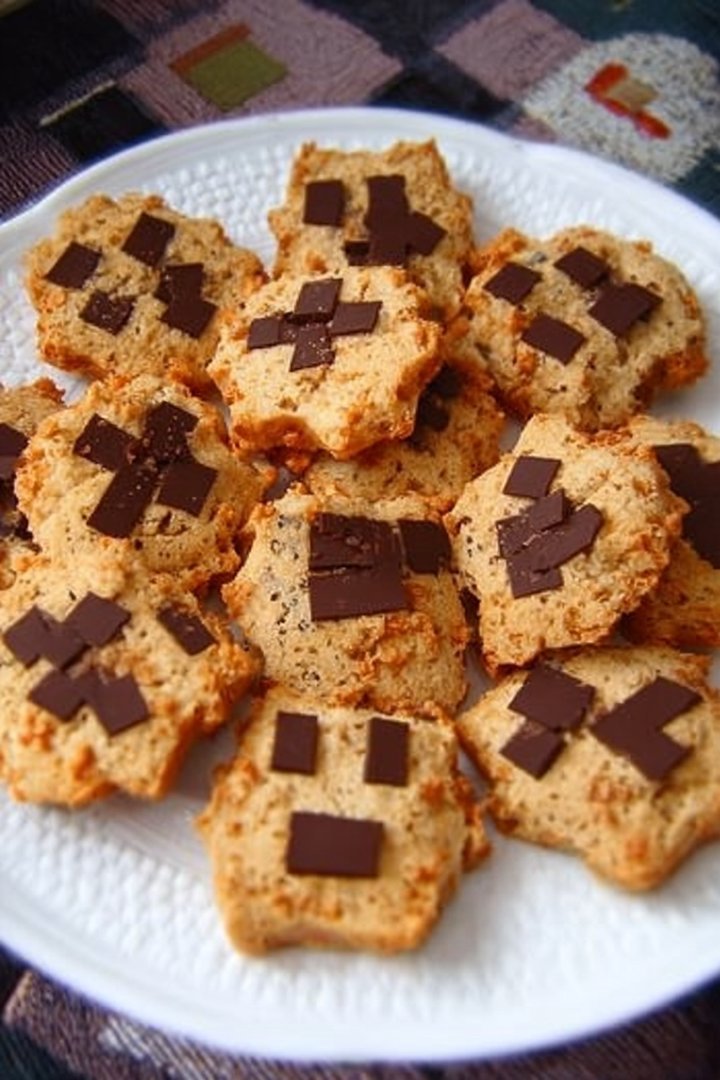
The aroma of warm, buttery cookies, subtly sweet and undeniably comforting, fills the air, promising a delightful treat reminiscent of simpler, blockier times. Imagine biting into a perfectly textured cookie, a delightful mix of crisp edges and a soft center, each mouthful echoing the joy of building digital worlds.
These Minecraft Cookies Recipe are not just a dessert; they’re a portal to cherished memories, a celebration of creativity, and a delicious way to share joy with friends and family. Perfect for gaming nights, birthday parties, or simply a whimsical afternoon snack, these cookies bring the pixelated fun of Minecraft into your kitchen.
- Easy to make with simple ingredients, perfect for beginner bakers.
- Enjoy a delightful balance of sweet and buttery flavors that everyone loves.
- The square shape and optional pixel decorations make these cookies visually appealing.
- Great for parties, gifts, or just a fun themed snack any day of the week.
Ingredients for Minecraft Cookies Recipe
Here’s what you’ll need to make this delicious dish:
The full ingredients list, including measurements, is provided in the recipe card directly below.
How to Make Minecraft Cookies Recipe
Follow these simple steps to prepare this delicious dish:
Step 1: Prepare the Cookie Dough
In a large bowl, cream together the softened butter and granulated sugar until light and fluffy. Beat in the eggs one at a time, then stir in the vanilla extract. In a separate bowl, whisk together the flour, baking powder, and salt. Gradually add the dry ingredients to the wet ingredients, mixing until just combined. Do not overmix.
Step 2: Chill the Dough
Divide the dough in half, flatten each half into a disc, and wrap in plastic wrap. Refrigerate for at least 1 hour, or preferably 2 hours, to prevent spreading during baking. This step is crucial for maintaining the shape of your Minecraft cookies.
Step 3: Cut Out the Cookies
Preheat your oven to 375°F (190°C). On a lightly floured surface, roll out one disc of dough to about 1/4 inch thickness. Use a square cookie cutter to cut out the cookies. If you don’t have a square cutter, you can use a knife to carefully cut squares. Place the cookies onto a baking sheet lined with parchment paper.
Step 4: Bake the Cookies
Bake for 8-10 minutes, or until the edges are lightly golden brown. Let the cookies cool on the baking sheet for a few minutes before transferring them to a wire rack to cool completely.
Step 5: Prepare the Royal Icing
In a large bowl, whisk together the powdered sugar, corn syrup, and water until smooth. Divide the icing into several bowls and add food coloring to each bowl to create the desired Minecraft colors (green, brown, blue, etc.). Transfer each color of icing into a piping bag fitted with a small round tip.
Step 6: Decorate the Cookies
Once the cookies are completely cool, decorate them with the royal icing to create pixelated Minecraft designs. Let the icing set completely before serving. Consider looking up Minecraft block designs for inspiration!
Once the icing is set, enjoy your Minecraft Cookies with a glass of milk or share them with friends at your next gaming get-together. They are sure to be a hit!
Perfecting the Cooking Process

To achieve cookie nirvana, streamline your baking. First, cream your butter and sugar until fluffy. Then, mix the dry ingredients separately before combining. This ensures even distribution and prevents overmixing. Don’t forget to chill the dough before baking for optimal texture.
Add Your Touch
Want to personalize your creeper-inspired creations? Consider swapping regular sugar for brown sugar for a chewier texture. Add a dash of vanilla extract or almond extract for a deeper flavor profile. Chocolate chips or chopped nuts can also level up your Minecraft cookies recipe.
Storing & Reheating
Store your freshly baked blocky delights in an airtight container at room temperature to maintain their crispness. They’ll stay delicious for up to a week. Reheating isn’t typically necessary, but a few seconds in the microwave can revive that warm, gooey feeling.
Here are a few helpful tips:
- Measure your ingredients carefully. Baking is a science, and precision is key to achieving the perfect Minecraft cookies recipe.
- Don’t overmix the dough! Overmixing develops the gluten, resulting in tough cookies. Mix until just combined for tender goodness.
- Use parchment paper for easy cleanup and to prevent the cookies from sticking to the baking sheet. It’s a game-changer, trust me!
(Personal anecdote formated as paragraph subheading)
I remember the first time I made these for my nephew’s birthday. The look on his face when he saw those pixel-perfect cookies was priceless. He devoured half the batch in one sitting!
Conclusion for Minecraft Cookies Recipe :
These Minecraft cookies are a delightful treat for any fan of the game. Remember the key ingredients and steps to recreate these blocky delights in your kitchen. With a little creativity in decorating, these cookies can transport you straight into the pixelated world of Minecraft. So, gather your ingredients, preheat your oven, and get ready to bake up some fun! Enjoy the process, and share your creations with friends and fellow gamers. Happy baking, and may your cookies be as epic as your Minecraft adventures!
Print
Minecraft Cookies Recipe
Delicious minecraft cookies recipe recipe with detailed instructions and nutritional information.
- Total Time: 35 minutes
- Yield: 4 servings
Ingredients
- All-purpose flour: 2 1/4 cups
- Baking soda: 1 teaspoon
- Salt: 1 teaspoon
- Unsalted butter, softened: 1 cup
- Granulated sugar: 3/4 cup
- Brown sugar, packed: 3/4 cup
- Large eggs: 2
- Vanilla extract: 1 teaspoon
Instructions
- Step 1: Preheat oven to 375°F (190°C). In a small bowl, whisk together flour, baking soda, and salt. Set aside.
- Step 2: In a large bowl, cream together the softened butter, granulated sugar, and brown sugar until light and fluffy.
- Step 3: Beat in the eggs one at a time, then stir in the vanilla extract.
- Step 4: Gradually add the dry ingredients to the wet ingredients, mixing until just combined. Do not overmix.
- Step 5: Drop by rounded tablespoons onto ungreased baking sheets.
- Step 6: Bake for 9-11 minutes, or until the edges are lightly golden brown. Let cool on baking sheets for a few minutes before transferring to a wire rack to cool completely. Enjoy your Minecraft Cookies!
Notes
- To keep your Minecraft cookies soft, store them in an airtight container with a slice of bread.
- For a warm, melty treat, microwave a cooled cookie for about 10-15 seconds.
- Serve these pixel-perfect cookies with a glass of cold milk for the ultimate blocky experience.
- Creaming the butter and sugars together until truly light and fluffy is key for achieving a soft, chewy texture.
- Prep Time: 15 minutes
- Cook Time: 20 minutes
- Method: Stovetop
- Cuisine: American
FAQs :
Can I use a different type of flour for this Minecraft Cookies Recipe?
Absolutely! While all-purpose flour is a solid choice for that classic cookie texture, feel free to experiment. Whole wheat flour will give your Minecraft cookies a nuttier flavor and slightly denser texture. Gluten-free blends are fantastic for anyone with dietary restrictions – just be sure to choose a blend that works well for baking. Keep in mind that different flours absorb liquid differently, so you might need to adjust the amount of liquid in your dough slightly to achieve the perfect consistency for your pixelated treats. Happy baking!
How can I prevent my Minecraft cookies from spreading too thin?
Ah, the dreaded cookie spread! Fear not, fellow crafter! Chilling your cookie dough for at least 30 minutes before baking is the golden rule. This allows the fats in the dough to solidify, which slows down the spreading process in the oven. Also, make sure your oven is at the correct temperature – an oven that’s too hot can cause the cookies to melt too quickly. Finally, avoid greasing your baking sheet excessively. A silicone mat or parchment paper will provide just the right amount of non-stick surface to keep your Minecraft cookies in perfect blocky shape.
What’s the best way to store these delicious Minecraft-themed cookies?
Storing your precious pixelated treats is essential to keep them fresh and delicious! Once your Minecraft cookies have cooled completely, the best way to maintain their tasty blocky goodness is to put them in an airtight container. Placing a piece of parchment paper between layers will prevent sticking. They’ll stay soft and delightful at room temperature for up to a week. If you want to extend their lifespan even further, you can freeze them for up to two months. Just thaw them completely before enjoying – a perfect snack for your next Minecraft adventure!
How can I make these Minecraft Cookies even more Minecraft-y?
Let’s crank up the Minecraft vibes! Consider using cookie cutters shaped like iconic Minecraft blocks and characters. Square cutters for dirt blocks, creeper face cutters, or even pixelated sword shapes will definitely level up your cookie game. For decorating, you can use royal icing tinted with food coloring to create detailed pixel art on each cookie. Think of grass blocks, water blocks, or even little Steve faces. Get creative, and let your inner builder shine! You might even try different flavor extracts to match each Minecraft block, like mint for a grass block.
