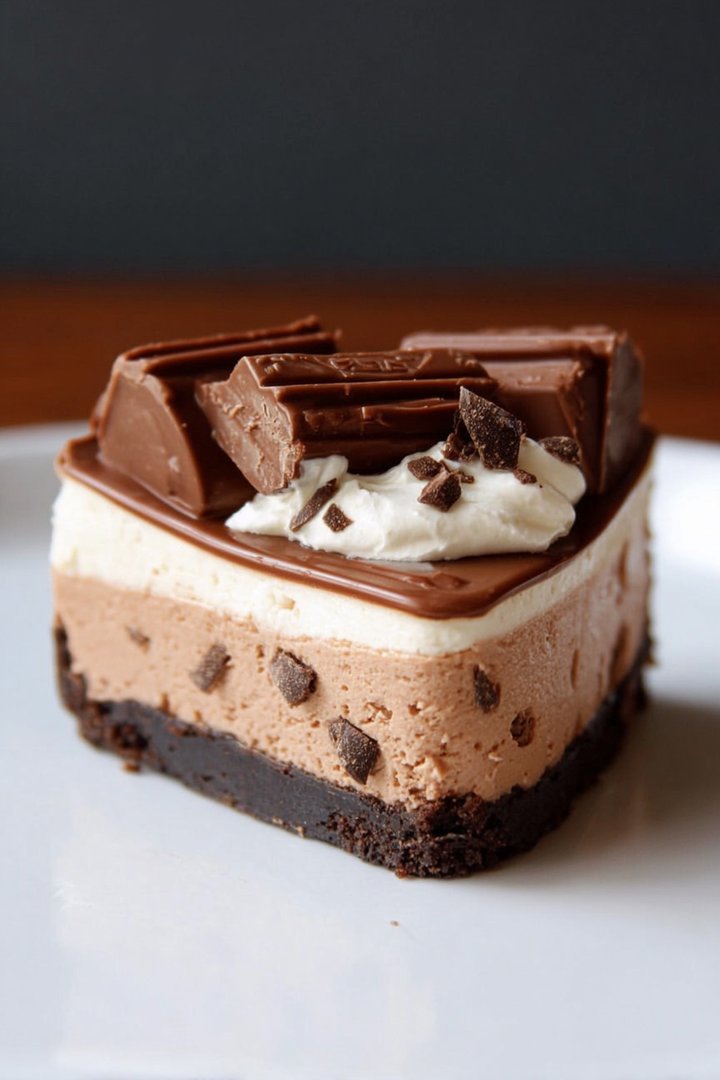
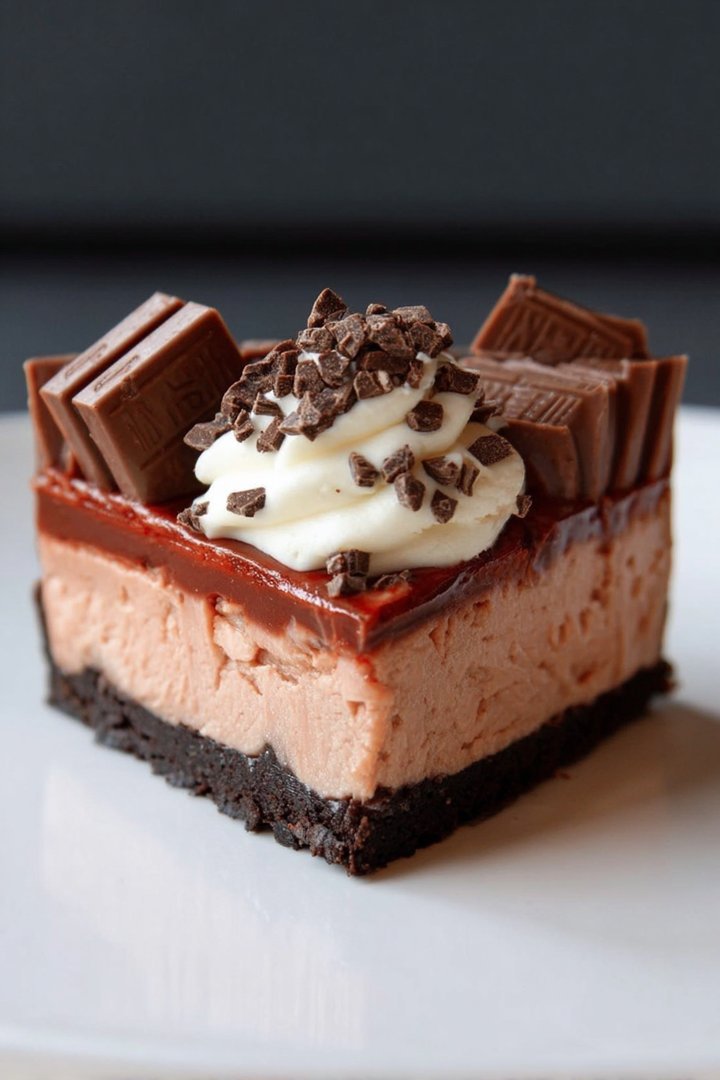
Picture this: a creamy, dreamy cloud of cheesecake, studded with the crisp, chocolatey goodness of Kit Kat bars. It’s a flavor explosion that dances on your taste buds, a symphony of textures that will leave you wanting more. It’s the perfect No Bake Kit Kat Cheesecake!
This isn’t just dessert; it’s a sweet escape, a playful indulgence, and the answer to “What should I bring to the party?” Forget slaving over a hot oven, this no-bake wonder comes together in a snap, delivering maximum flavor with minimal effort. Get ready to become the hero of dessert time.
- Effortlessly create a decadent dessert without ever turning on your oven, perfect for warm weather.
- Experience the perfect balance of creamy cheesecake and crunchy Kit Kat, delivering a satisfying textural contrast.
- Showcase an eye-catching dessert that’s guaranteed to impress guests with its playful and delicious design.
- Adapt this recipe to your liking with various Kit Kat flavors, toppings, or even different crust options for endless customization.
Ingredients for No Bake Kit Kat Cheesecake
Here’s what you’ll need to make this delicious dish:
The full ingredients list, including measurements, is provided in the recipe card directly below.
How to Make No Bake Kit Kat Cheesecake
Follow these simple steps to prepare this delicious dish:
Step 1: Crush the Cookies and Kit Kats
Finely crush the chocolate cookies and some of the Kit Kats using a food processor or by placing them in a ziplock bag and crushing them with a rolling pin. In a bowl, mix the crushed cookies with melted butter until well combined. Press the mixture into the bottom of a springform pan to create a firm base.
Step 2: Prepare the Cheesecake Filling
In a large bowl, beat the softened cream cheese and granulated sugar until smooth and creamy. Add vanilla extract and mix well. In a separate bowl, whip the heavy cream with powdered sugar until stiff peaks form. Gently fold the whipped cream into the cream cheese mixture.
Step 3: Make the Agar-Agar Mixture
In a saucepan, mix the agar-agar powder with 1/4 cup of water. Bring to a simmer over medium heat, stirring constantly until the agar-agar is completely dissolved. This usually takes about 3-5 minutes. Let it cool slightly.
Step 4: Combine and Chill
Gradually add the cooled agar-agar mixture to the cream cheese mixture, mixing well to ensure even distribution. Fold in the remaining crushed Kit Kats. Pour the mixture over the cookie crust in the springform pan. Decorate the top with more Kit Kat bars.
Step 5: Chill and Set
Cover the springform pan with plastic wrap and refrigerate for at least 4-6 hours, or preferably overnight, to allow the cheesecake to set completely.
Step 6: Serve and Enjoy
Once the cheesecake is set, carefully remove it from the springform pan. Slice and serve cold. You can add a drizzle of melted chocolate or a dusting of cocoa powder for an extra touch.
Transfer to plates and add a few Kit Kat chunks for the perfect finishing touch. Enjoy every bite!
Perfecting the Cooking Process

For the most delectable no bake Kit Kat cheesecake, first, prepare your crust. Next, whip up the creamy filling while ensuring your Kit Kats are chilled. Assemble and refrigerate for optimal firmness. This sequence guarantees a delightful dessert every single time.
Add Your Touch
Feeling adventurous? Try swapping regular cream cheese for Neufchâtel for a lighter twist, or add a hint of orange zest to the filling for a burst of citrus. You could also top with different candies or even a chocolate ganache! Let your creativity flow.
Storing & Reheating
Keep your magnificent no bake Kit Kat cheesecake in the refrigerator for up to 3 days. It’s best served cold, straight from the fridge. Freezing is not recommended, as it may alter the texture of the cheesecake filling. Enjoy responsibly (or irresponsibly, we won’t judge).
Here are some helpful tips for creating the perfect No Bake Kit Kat Cheesecake:
- Crush your cookies evenly for the crust; large chunks can make slicing difficult, and nobody wants a crumbly disaster.
- Ensure your cream cheese is softened to room temperature; this prevents lumps and ensures a smooth, dreamy cheesecake filling.
- Resist the urge to overmix the filling; excessive mixing can lead to a dense, rather than light and airy, cheesecake.
(Personal anecdote formated as paragraph subheading)
I once made this cheesecake for a friend’s birthday. Everyone devoured it so quickly there was barely a crumb left, and I felt like a culinary superhero!
Conclusion for No Bake Kit Kat Cheesecake
This No Bake Kit Kat Cheesecake is a guaranteed crowd-pleaser, blending creamy indulgence with the irresistible crunch of Kit Kats. It is incredibly simple to whip up, making it perfect for any occasion, from casual get-togethers to more formal celebrations. The combination of textures and flavors is a match made in dessert heaven. Prepare to impress your friends and family with this easy and utterly divine treat!
Print
No Bake Kit Kat Cheesecake
Delicious no bake kit kat cheesecake recipe with detailed instructions and nutritional information.
- Total Time: 35 minutes
- Yield: 4 servings 1x
Ingredients
- 250g Digestive Biscuits (for the base)
- 100g Unsalted Butter, melted (for the base)
- 500g Cream Cheese, full-fat, softened
- 100g Icing Sugar, sifted
- 300ml Double Cream
- 2 tsp Vanilla Extract
- 100g Milk Chocolate, melted (for the topping)
- 12 Kit Kat bars (for decoration and within)
Instructions
- Step 1: Crush the digestive biscuits into fine crumbs using a food processor or by placing them in a ziplock bag and crushing with a rolling pin. Mix the biscuit crumbs with the melted butter until well combined.
- Step 2: Press the biscuit mixture into the base of a 20cm springform tin, ensuring it's evenly distributed and tightly packed. Refrigerate for at least 30 minutes to set.
- Step 3: In a large bowl, beat the softened cream cheese and icing sugar together until smooth and creamy.
- Step 4: In a separate bowl, whip the double cream until stiff peaks form. Gently fold the whipped cream into the cream cheese mixture along with the vanilla extract. Chop 6 Kit Kat bars and gently fold them into the cheesecake filling.
- Step 5: Pour the cheesecake filling over the chilled biscuit base and spread evenly. Refrigerate for at least 4 hours, or preferably overnight, to allow the cheesecake to set completely.
- Step 6: Once set, carefully remove the cheesecake from the springform tin. Drizzle the melted milk chocolate over the top of the cheesecake. Decorate with the remaining 6 Kit Kat bars, cut into pieces, around the edge of the cheesecake.
Notes
- For optimal enjoyment, store leftover cheesecake covered in the refrigerator for up to 3 days, but it's best enjoyed fresh.
- Since it's a no-bake recipe, reheating isn't applicable; just let it sit at room temperature for a few minutes before serving for a slightly softer texture.
- Serve chilled slices with a scoop of vanilla ice cream for an extra indulgent treat that perfectly complements the Kit Kat flavors.
- Chef's tip: Make sure your cream cheese is properly softened to avoid lumps in the filling, resulting in a smoother, more luxurious cheesecake.
- Prep Time: 15 minutes
- Cook Time: 20 minutes
- Method: Stovetop
- Cuisine: American
FAQs
Can I make this No Bake Kit Kat Cheesecake ahead of time?
Absolutely! In fact, I highly recommend it. This No Bake Kit Kat Cheesecake is a superstar make-ahead dessert. Prepare it a day or two in advance and let it chill in the refrigerator. This gives the flavors time to meld together and the cheesecake a firmer, more decadent texture. Just imagine pulling this stunning creation out of the fridge when guests arrive! You’ll be the hero of the dessert table, and nobody will ever suspect you weren’t slaving away all day. Shhh, our little secret.
How do I prevent my No Bake Kit Kat Cheesecake crust from becoming soggy?
Ah, the dreaded soggy crust! Fear not, there are a few tricks to keep your graham cracker crust crisp and delightful. First, make sure to tightly pack the crust into the pan. Second, lightly brush the crust with melted chocolate (white, milk, or dark, your choice!) before adding the filling. This creates a moisture barrier. Finally, don’t add the filling to the crust until it’s completely cooled. These steps will ensure every bite offers that satisfying crunch alongside the creamy cheesecake.
What are some variations I can make to this No Bake Kit Kat Cheesecake recipe?
Let your imagination run wild! For a mocha twist, add a tablespoon of instant coffee powder to the cheesecake filling. Swap out the regular Kit Kats for dark chocolate or white chocolate Kit Kats for a different flavor profile. For a caramel swirl, drizzle warm caramel sauce over the top before adding the Kit Kat pieces. You can also add crushed peanuts or other nuts to the crust for extra texture. The possibilities are as endless as your creativity – and your love for Kit Kats!
How long will the No Bake Kit Kat Cheesecake last in the refrigerator?
This No Bake Kit Kat Cheesecake will stay fresh and delicious in the refrigerator for up to 3-4 days, if properly stored. Make sure to cover it tightly with plastic wrap or store it in an airtight container to prevent it from drying out or absorbing any unwanted refrigerator odors. After a few days, the Kit Kats might start to soften slightly, but the cheesecake itself will still be perfectly safe and yummy to eat. Though, let’s be honest, it probably won’t last that long!
