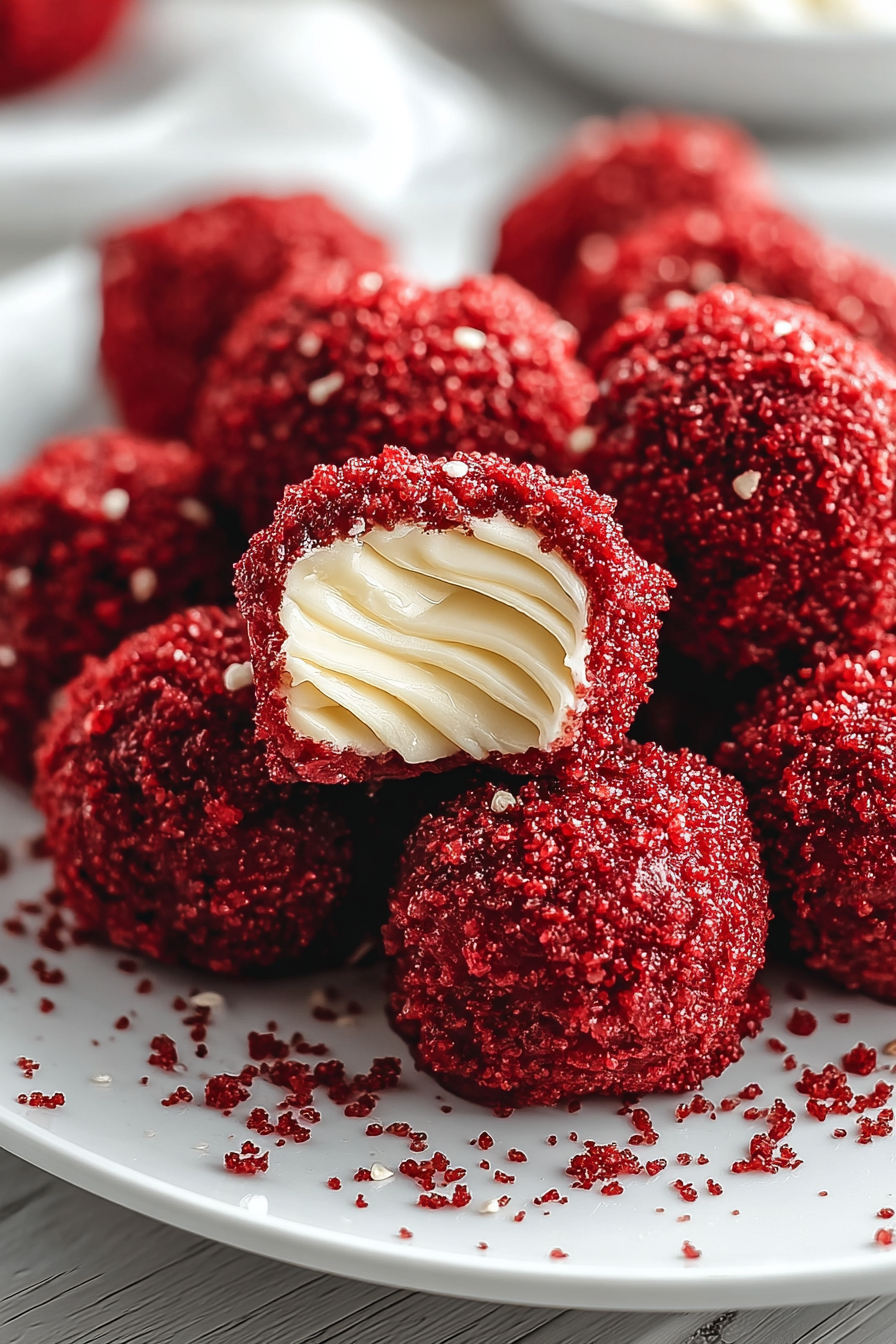
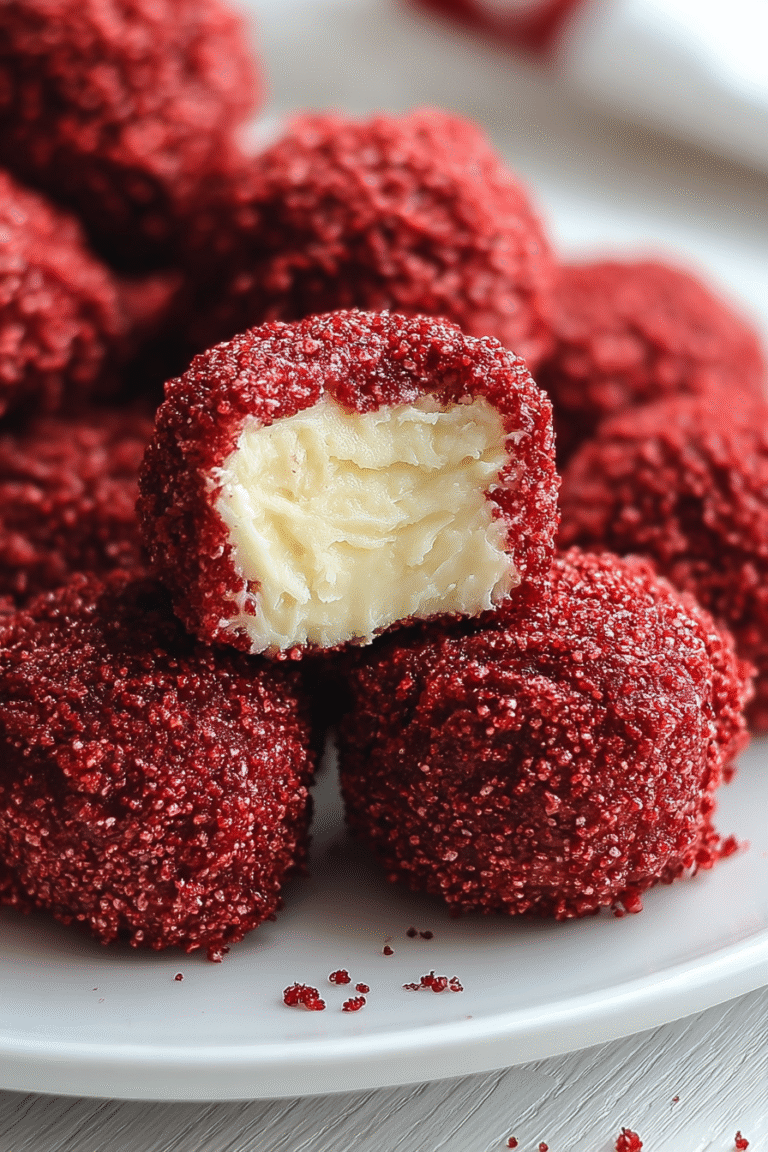
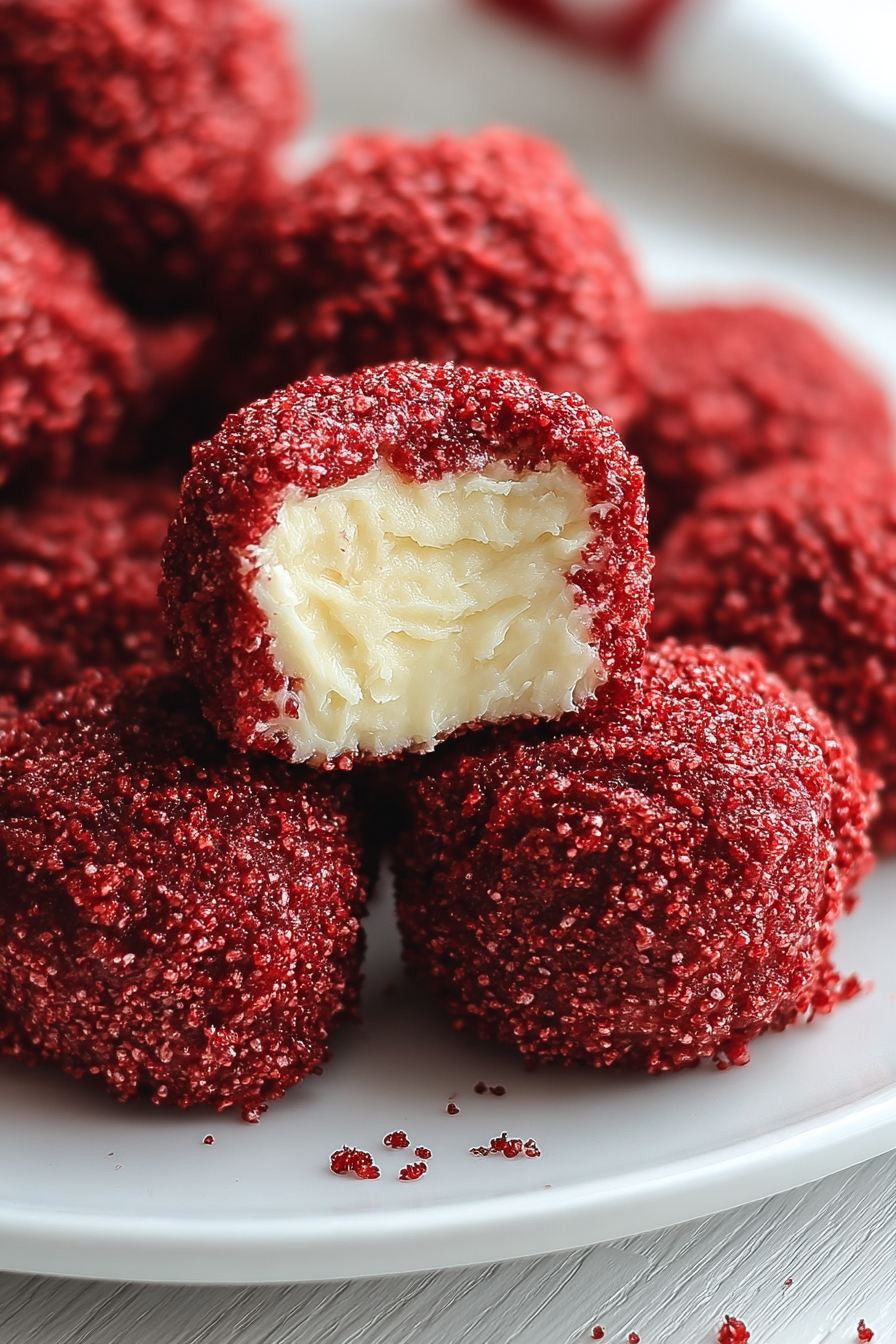
Imagine sinking your teeth into a tiny morsel of pure bliss, a crimson dream swirling with creamy delight. These Red Velvet Cheesecake Bites aren’t just dessert; they’re a tiny vacation for your taste buds, a sweet escape from the mundane.
Remember those awkward middle school dances? These Red Velvet Cheesecake Bites are the cool kid that everyone wants to hang out with. They’re decadent, adorable, and guaranteed to make any occasion a little more special.
Here are a few reasons why you’ll fall head-over-heels for these Red Velvet Cheesecake Bites:
- Effortlessly elegant, these bites require minimal baking skills, making them perfect for any level baker.
- The combination of rich red velvet and tangy cheesecake creates a symphony of flavors that dances on your palate.
- Their vibrant color and adorable size make them a visually stunning addition to any dessert table.
- These versatile bites can be customized with different toppings, making them the ideal treat for any celebration.
Ingredients for Red Velvet Cheesecake Bites
Here’s what you’ll need to make this delicious dish:
The full ingredients list, including measurements, is provided in the recipe card directly below.
How to Make Red Velvet Cheesecake Bites
Follow these simple steps to prepare this delicious dish:
Step 1: Prepare the Red Velvet Base
Preheat your oven to 350°F (175°C). In a large bowl, whisk together the flour, sugar, cocoa powder, baking soda, and salt. In a separate bowl, combine the buttermilk, oil, egg, red food coloring, and vanilla essence (alcohol-free). Add the wet ingredients to the dry ingredients and mix until just combined. Do not overmix.
Step 2: Bake the Red Velvet Layer
Pour the batter into a greased and floured 9×13 inch baking pan. Bake for 20-25 minutes, or until a toothpick inserted into the center comes out clean. Let the cake cool completely before moving on to the next step.
Step 3: Make the Cheesecake Filling
While the cake is cooling, prepare the cheesecake filling. In a large bowl, beat the softened cream cheese and powdered sugar until smooth and creamy. In a separate bowl, whip the heavy cream until stiff peaks form. Gently fold the whipped cream into the cream cheese mixture.
Step 4: Assemble the Red Velvet Cheesecake Bites
Once the red velvet cake has cooled completely, use a small cookie cutter or knife to cut out small squares or circles. Place each red velvet piece on a baking sheet lined with parchment paper. Top each piece with a dollop of the cheesecake filling.
Step 5: Chill and Serve
Place the baking sheet in the refrigerator and chill for at least 30 minutes to allow the cheesecake filling to set. Once chilled, transfer the Red Velvet Cheesecake Bites to a serving platter and enjoy! These are fantastic on their own.
Perfecting the Cooking Process

To achieve baking nirvana with these red velvet cheesecake bites, remember the order of operations. Start by preparing your cheesecake filling first, giving it time to chill and firm up. While that’s happening, move on to the red velvet base, and then assemble.
Add Your Touch
Want to jazz up your red velvet cheesecake bites? Consider swirling a raspberry puree into the cheesecake filling for a burst of fruity flavor. You could also sprinkle chocolate shavings on top for an extra touch of decadence. These are easy to customize.
Storing & Reheating
Store your delectable red velvet cheesecake bites in an airtight container in the refrigerator for up to 3-4 days. Sadly, reheating isn’t really an option here as they are best enjoyed cold. Just grab one (or three!) straight from the fridge.
Here are some helpful tips for baking perfection:
- Use room temperature cream cheese for an ultra-smooth cheesecake filling, avoiding any dreaded lumps that might ruin the texture.
- Don’t overbake the red velvet base; it should be slightly soft to ensure a melt-in-your-mouth experience when combined with the cheesecake.
- Chill the red velvet cheesecake bites for at least two hours before serving; this allows the flavors to meld together beautifully and the texture to set perfectly.
(Personal anecdote formated as paragraph subheading)
I remember the first time I made these, my friend declared they tasted like tiny bites of heaven. I had to agree. Their reaction made all the effort incredibly worthwhile.
The Alluring Appeal of Red Velvet Cheesecake Bites
Who can resist the siren call of red velvet? That vibrant hue, that subtle cocoa undertone, that undeniably addictive tang… it’s a classic for a reason. Now, imagine taking all that red velvet goodness and fusing it with the creamy, dreamy richness of cheesecake. The result? Red velvet cheesecake bites, miniature explosions of flavor that will have you saying, “Just one more!” (Spoiler alert: you’ll probably have several “one mores.”)
I have always been a huge fan of red velvet desserts. From cakes to cupcakes, I’m on board. And then there’s cheesecake, the king of all desserts (in my humble opinion). Marrying these two culinary superstars together? Pure genius, if I do say so myself. This isn’t just a recipe; it’s a love story. A love story between red velvet and cheesecake, told in bite-sized portions.
These are not your average, run-of-the-mill desserts. We’re talking about a sophisticated, yet surprisingly simple treat that’s perfect for any occasion. Need a showstopper for a party? Red velvet cheesecake bites. Want to impress your significant other? Red velvet cheesecake bites. Just craving something delicious on a Tuesday night? You guessed it: red velvet cheesecake bites.
Why These Bites Are Simply Irresistible
These little gems are more than just cute; they’re a symphony of textures and flavors. The slightly crumbly, cocoa-kissed red velvet base provides the perfect foundation for the luscious, tangy cheesecake filling. Each bite is an experience, a journey of sweet and creamy that will leave you wanting more. They are also incredibly easy to make, a major plus in my book. No complicated techniques or fancy equipment required. Just a few simple ingredients and a little bit of love, and you’ll be on your way to cheesecake bite bliss.
And the best part? They are endlessly customizable! Feel free to experiment with different toppings, flavors, and decorations to create your own signature version. The possibilities are endless. So, are you ready to dive into the wonderful world of red velvet cheesecake bites? Let’s get baking.
Gathering Your Ingredients for Red Velvet Cheesecake Bites
Before we get started, let’s make sure you have everything you need. Don’t worry; the ingredient list is pretty straightforward. For the red velvet base, you’ll need:
- All-purpose flour: The backbone of our red velvet goodness.
- Cocoa powder: For that signature chocolatey hint.
- Baking soda and baking powder: The dynamic duo that helps our base rise to the occasion.
- Salt: A pinch to enhance all the flavors.
- Vegetable oil: Keeps the base moist and tender.
- Granulated sugar: For sweetness, of course.
- Eggs: To bind everything together.
- Buttermilk: Adds a tangy flavor and helps create a tender crumb.
- Red food coloring: For that iconic red velvet hue (gel food coloring is best for a vibrant color).
- Vanilla essence (alcohol-free): Because everything is better with a touch of vanilla.
- Apple cider vinegar: This reacts with the baking soda to give a little extra lift and tang
For the cheesecake filling, you’ll need:
- Cream cheese: The star of the show! Make sure it’s softened for a smooth filling.
- Granulated sugar: More sweetness, please.
- Egg: To bind the filling together.
- Vanilla essence (alcohol-free): A must-have for cheesecake perfection.
That’s it! See? Nothing too scary. Once you have all your ingredients assembled, you are ready to move on to the fun part: baking.
Crafting the Red Velvet Base
Alright, let’s start with the red velvet base. This is where the magic begins. In a medium bowl, whisk together the flour, cocoa powder, baking soda, baking powder, and salt. Set this dry mixture aside for later.
In a separate, larger bowl, whisk together the vegetable oil, sugar, eggs, buttermilk, red food coloring, vanilla essence (alcohol-free), and apple cider vinegar. Make sure everything is well combined.
Now, gradually add the dry ingredients to the wet ingredients, mixing until just combined. Be careful not to overmix, as this can result in a tough base. The batter should be smooth and vibrantly red.
Pour the batter into a greased and floured mini muffin tin. Fill each cup about two-thirds full. These will rise a bit in the oven, so don’t overfill. Bake in a preheated oven at 350°F (175°C) for about 10-12 minutes, or until a toothpick inserted into the center comes out clean.
Remove the muffin tin from the oven and let the bases cool completely in the tin before removing them. This will prevent them from breaking.
Creating the Dreamy Cheesecake Filling
While the red velvet bases are cooling, let’s move on to the cheesecake filling. This is the easy part. In a large bowl, beat the softened cream cheese and sugar together until smooth and creamy. You can use a hand mixer or a stand mixer for this.
Add the egg and vanilla essence (alcohol-free) and beat until just combined. Again, be careful not to overmix. Overmixing can incorporate too much air into the filling, which can cause it to crack during baking.
The filling should be smooth, creamy, and oh-so-tempting. Resist the urge to eat it straight from the bowl (or don’t, I won’t judge).
Assembling the Red Velvet Cheesecake Bites
Now for the grand finale: assembling the red velvet cheesecake bites! Once the red velvet bases are completely cool, carefully remove them from the muffin tin. You may need to use a small offset spatula or knife to loosen them.
Using a small spoon or piping bag, carefully fill each red velvet base with the cheesecake filling. Try to fill them evenly, so each bite has the perfect ratio of red velvet to cheesecake.
Once all the bases are filled, place the muffin tin in the refrigerator and chill for at least two hours. This chilling time is crucial, as it allows the cheesecake filling to set properly and the flavors to meld together beautifully. Trust me, it’s worth the wait.
Serving and Enjoying Your Red Velvet Cheesecake Bites
After two agonizing hours (or more, if you can resist the temptation), your red velvet cheesecake bites are finally ready to be devoured! Remove them from the refrigerator and admire your handiwork. Aren’t they beautiful?
You can serve these bites as is, or you can get creative with toppings. A dusting of cocoa powder, a sprinkle of chocolate shavings, or a dollop of whipped cream are all excellent choices. You could even drizzle them with a raspberry sauce or caramel sauce for an extra touch of decadence.
These red velvet cheesecake bites are perfect for parties, potlucks, or any occasion that calls for a little bit of sweetness. They’re also great for satisfying those late-night cravings. Just be warned: they are incredibly addictive.
Troubleshooting Tips for Perfect Red Velvet Cheesecake Bites
Even the most experienced bakers encounter hiccups sometimes. Here are a few common issues you might run into and how to fix them:
- My red velvet base is dry: This could be due to overbaking. Make sure to check the bases frequently while they are in the oven and remove them as soon as a toothpick inserted into the center comes out clean. You can also add a tablespoon of sour cream to the batter for added moisture.
- My cheesecake filling cracked: This is usually caused by overbaking or sudden temperature changes. To prevent cracking, avoid overmixing the filling and make sure to bake the bites at a consistent temperature. You can also try placing a pan of water on the bottom rack of the oven to create a more humid environment.
- My red velvet cheesecake bites are sticking to the muffin tin: Make sure to grease and flour the muffin tin thoroughly before adding the batter. You can also use paper liners for easy removal.
With a little bit of practice and these helpful tips, you’ll be a red velvet cheesecake bite pro in no time.
Variations and Creative Twists
Feeling adventurous? Here are some fun variations to try:
- Chocolate Chip Red Velvet Cheesecake Bites: Add chocolate chips to both the red velvet base and the cheesecake filling for an extra dose of chocolatey goodness.
- Oreo Red Velvet Cheesecake Bites: Crush Oreo cookies and sprinkle them on top of the cheesecake filling for a crunchy, chocolatey twist.
- Peppermint Red Velvet Cheesecake Bites: Add peppermint essence (alcohol-free) to the cheesecake filling and top with crushed peppermint candies for a festive holiday treat.
- Raspberry Swirl Red Velvet Cheesecake Bites: Swirl raspberry puree into the cheesecake filling for a burst of fruity flavor.
Don’t be afraid to experiment and come up with your own unique variations. That’s the beauty of baking!
Remember, baking should be fun and relaxing. Don’t stress about making mistakes. Every “oops” moment is a learning opportunity! So, go ahead, grab your apron, and get ready to create some seriously delicious red velvet cheesecake bites. Your taste buds will thank you.
Conclusion for Red Velvet Cheesecake Bites :
These *Red Velvet Cheesecake Bites* are a delightful treat that’s perfect for any occasion. They’re easy to make, incredibly delicious, and always a crowd-pleaser. Remember to bake them gently to avoid cracks, chill them for the best flavor, and feel free to get creative with your toppings. With their vibrant color and rich taste, these little bites are sure to bring a smile to everyone’s face. So go ahead, whip up a batch, and prepare to be amazed by these miniature masterpieces of flavor.
Print
Red Velvet Cheesecake Bites
Delicious red velvet cheesecake bites recipe with detailed instructions and nutritional information.
- Total Time: 35 minutes
- Yield: 4 servings 1x
Ingredients
- 1 box (15.25 oz) Red Velvet Cake Mix
- 1/2 cup vegetable oil
- 2 large eggs
- 1 package (8 oz) cream cheese, softened
- 1/4 cup granulated sugar
- 1/2 teaspoon vanilla extract
- 1/4 cup mini chocolate chips
- Red food coloring (optional)
Instructions
- Step 1: Preheat oven to 350°F (175°C). Line a mini muffin tin with paper liners.
- Step 2: In a large bowl, combine the red velvet cake mix, vegetable oil, and eggs. If desired, add a few drops of red food coloring for a more vibrant color. Mix until well combined.
- Step 3: In a separate bowl, beat together the softened cream cheese and granulated sugar until smooth. Stir in the vanilla extract and mini chocolate chips.
- Step 4: Fill each mini muffin liner about 2/3 full with the red velvet cake batter. Then, place a small dollop of the cream cheese mixture on top of each.
- Step 5: Bake for 15-18 minutes, or until a toothpick inserted into the cake portion comes out clean.
- Step 6: Let the cheesecake bites cool completely in the muffin tin before removing and serving. Store in the refrigerator.
Notes
- Keep these bites chilled in an airtight container for up to 3 days to maintain their creamy texture.
- For a warm, gooey treat, microwave a bite for about 5-10 seconds; be careful not to overheat.
- Present these delightful bites on a tiered platter with fresh raspberries for an elegant touch.
- Don't overmix the cake batter; a gentle stir ensures a tender, moist crumb.
- Prep Time: 15 minutes
- Cook Time: 20 minutes
- Method: Stovetop
- Cuisine: American
FAQs :
Can I make Red Velvet Cheesecake Bites ahead of time?
Absolutely! In fact, I highly recommend it. These little bites of heaven are fantastic when chilled. Prepare them a day or two in advance and store them in an airtight container in the refrigerator. This allows the flavors to meld together beautifully, creating an even more decadent experience. Trust me, your future self will thank you for the foresight. Just imagine, a delicious treat ready to go whenever a craving strikes. It’s the perfect way to ensure you always have a delightful dessert on hand.
How do I prevent the cheesecake from cracking?
Cracking cheesecake can be a real buzzkill, but fear not! The key is gentle baking. Avoid sudden temperature changes. A water bath helps to create a moist environment, preventing the top from drying out too quickly and cracking. Also, don’t overbake them. A slight jiggle in the center is perfectly fine; they will firm up as they cool. Once baked, let them cool gradually in the oven with the door slightly ajar to further minimize the risk of cracks. Think of it as a spa day for your cheesecake!
What can I use instead of cream cheese?
Okay, so maybe cream cheese isn’t your jam (pun intended!). For a tangier flavor, try using a combination of Greek yogurt and Neufchâtel cheese. This combo provides a similar texture and taste but with a slightly lighter feel. You can also experiment with vegan cream cheese alternatives; just make sure to choose one that’s known for its creamy consistency and ability to hold its shape when baked. It might take a bit of tweaking to get the exact texture, but the results can be surprisingly delicious.
How do I store leftover Red Velvet Cheesecake Bites?
If, by some miracle, you have leftover *Red Velvet Cheesecake Bites*, storing them properly is key to maintaining their deliciousness. Place them in an airtight container and refrigerate them. They will stay fresh for up to five days. For longer storage, you can freeze them. Wrap each bite individually in plastic wrap before placing them in a freezer-safe bag. Frozen *cheesecake bites* can last for up to two months. Just thaw them in the refrigerator before enjoying. You’ll have a perfect portion of delightful dessert ready whenever you crave it.

